Showing posts with label make up. Show all posts

Wednesday, July 13, 2011

Eyelashes art make up

Lusty Eyelashes! – Whats hot at Irish Beauty Show 2011


Have you ever wanted that extra pop in your eyes and found that your mascara just couldn’t cut it?
Have you ever wanted the sultry eyed drama of a leading lady? 
If you answered yes to either of those questions, then I think you are ready to go all the way; falsies (get your mind out of the gutter, I’m talking about your lashes).


False Lashes are lush and glamorous, but the majority of women out there are afraid of them. Some of you think they look too artificial and some think they are just too much effort. Let me shed some light on this for you…First, false lashes will look artificial if you put them on wrong (or if you choose the sort of lash that should only be sold at a drag queen boutique). Secondly, they are fast and easy, seriously.


Strip Lashes
1. Curl your lashes. A good curl is essential to making your own lashes blend into and become one with the strip. This step is especially important if your lashes naturally grow downward (your strip will point down with your lashes if you don’t curl them. I can assure you that is not what we want).


2. Trim the end of your strip lash so that it is the same length (or a little shorter) than your eyelid. If they are too long, they will be uncomfortable and eventually peel away.
TIP: Before applying your lashes, wrap them around an eyeliner pencil for a few minutes. This will give them a curve that better holds to the shape of the lid.


3. Apply eyelash glue (Duo is my favorite) evenly along the band that runs through the lash. Allow it to dry for about ten seconds. Tacky glue will adhere quickly and easily to the lid.


4. Lay the strip right along your lash line and hold it there for a few seconds. Be sure that the outside end of the strip lies exactly in line with where the eyelashes begin at the outer corner of your eye.
Tip: Use an orange wood stick, or the handle side of your tweezers to push the glued band right up against your lash line. Please do not use the slanted edge of the tweezers…accidents do happen.


5. When the adhesive has fully dried, draw a line of pencil or liquid liner over the strip (and the glue). This will hide that seam (which is often clear or white), making the lashes look more natural.


6. Apply a coat of mascara from underneath your lashes. This will mix and hold your natural lashes to the false ones, again, making the strip look even more natural.

make up character art


Peking (Beijing) Opera Photo Tour

Known as the national opera of China, Peking (Beijing) Opera is the most influential and representative of all the operas in China, and one of the three main theatrical systems in the world. Based upon traditional Anhui Opera, Peking (Beijing) Opera has also adopted repertoire, music and performing techniques from Kun Opera and Qingqiang Opera as well as traditional folk tunes.


It took the best from each style and eventually formed its own highly stylized music and performing techniques. Peking (Beijing) Opera is a blend of music, dance, art, acrobatics, and martial arts.


With its beautiful paintings, exquisite costumes, and graceful gestures, Peking (Beijing) opera has developed into a comprehensive art. Filled with many aspects of Chinese cultural, Peking opera presents the audience with an encyclopedia of Chinese culture. Its repertoire includes historical plays, comedies, tragedies and farces.

The facial makeup of Peking (Beijing) Opera highlights and exaggerates the principal features of the characters. One major characteristic of Peking (Beijing) Opera is the colors painted on the face of a character. It is vital to the understanding of a play. This is a feature unique to Chinese opera (See following pictures and interpretations).

Character Make-up Portfolio

Characters for Theater, Film, and Television
 

Halloween Makeup Ideas

Halloween Makeup

Among the most fun and fulfilling Halloween accessories there are is makeup, and there are so many looks and feels you can create that it's a real blast to get some inspiration to design your own unique Halloween look as well as those of your loved ones or friends.
There are a lot of Halloween makeup products on the market, as well as some regular make as well you can employ for your own Halloween artwork.
Think of the type of character you want to create first and a basic costume that would go with it, then from there you can build out the entire character by adding Halloween accessories, and finally the crown jewel of your persona: Halloween makeup.

I'm not going to get into a lot of Halloween makeup tips, but one thing to consider, especially for the face, arms and torso, are to lay a solid foundation as a canvas to work on; and the best and easiest to work with is white, although any will do depending on the character or look you want to develop.


Also think of things like scars, wounds, eyelashes, or numerous other Halloween accessories you can add to complete your masterpiece.
I've included a number of Halloween makeup photos hear to give you some ideas and inspiration to work from.
You don't have to be intimidated, as there's no one way to do it, and in the end, it's the experience and fun of doing it together, or for others to enjoy the end product that counts.


More zombie Halloween makeup

 Making your face into a Halloween mouse is always fun and easy to do, but it also seems to never go out of fashion. Add a couple accessories like the ears and nose and you never lose with this look.


Another easy Halloween makeup look that is great

The makeup look below is so professional looking, and yet look at the lines and colors, and you can see how simple and easy this is to create. The hair, again, really adds to the feel of the face, which would be great at any Halloween party.
This is a great pattern to work from for a variety of things you may want to create, just catch the detail and how it was applied in every area of the face.

Halloween fairy makeup

This is a really fun Halloween be face, and look at how easy and simple it was to do. You of course have to have those antennae, as it wouldn't be a bee without them. But see the way the lines on the face were done, and how easily and quickly you could do it. Really nice.

eyebrow makeup


How to Do Eyebrow Makeup???

 The eyebrows are an important facial feature, but one that often is overlooked. Your eyebrows frame your eyes and define the rest of the features on your face. Eyebrow makeup can be difficult to apply, and achieving perfect brows is usually one of the biggest challenges in any woman's beauty routine. By following the proper steps, anyone can achieve a beautiful and natural look.


Basics

  • 1
    Pluck or wax your eyebrows. This gives you the cleanest working area and ensures your eyebrows have the proper shape. You should remove hair only from underneath the brows and never from over the brows, to avoid ruining the natural shape of your brows (see References 2).


  • 2
    Brush your eyebrows in the direction the hair grows. This helps smooth the hairs on your eyebrows and prepare them for makeup application. Brushing your brows the opposite direction of the way they grow can create a scraggly, uneven look. An eyebrow brush tool works best for this, but you can also use a clean mascara wand and get the same result.
  • 3
    Color in the eyebrows with an eyebrow pencil or powder. Use a brush to apply powder. Both work well and help give the eyebrows shape and definition. Choose a color the same shade as the darkest color in your hair, and color with short, feathery strokes to make it blend better with your eyebrow hair and look more natural (see References 3). The eyebrows should start at the inner corner of your eye and end at the outer corner of your eye.


Waxing

  • 1
    Wash and dry your face.
  • 2
    Brush your eyebrows with an eyebrow brush or clean mascara wand. This helps ensure that you wax off only the hairs you want removed (see References 5).


  • 3
    Prepare the wax. Instructions may vary from one home waxing kit to the next, so make sure you read the directions all the way through before starting. In the basic eyebrow waxing kit you should receive wax, an applicator for applying the wax and strips for removing the wax.
  • 4
    Once it has warmed, apply the wax carefully to your eyebrow area with the included applicator. Apply wax only underneath the brows and never over them.
  • 5
    Wait a few seconds to give the wax time to bond with the hair, then place a strip onto the waxed area of your brow. Smooth the strip down flat with your fingers to get rid of any air bubbles. The entire strip should lay flat against your skin to ensure as much wax and hair as possible gets removed.
  • 6
    Allow the wax to cool for about 10 seconds. Grasp one end of the strip and pull off in one quick motion. This helps pull out the most hair, and the quick motion makes it less painful.
  • 7
    Repeat this on the other eyebrow. Lay a cold cloth over your eyes for a few seconds after waxing to help relieve any swelling or pain.

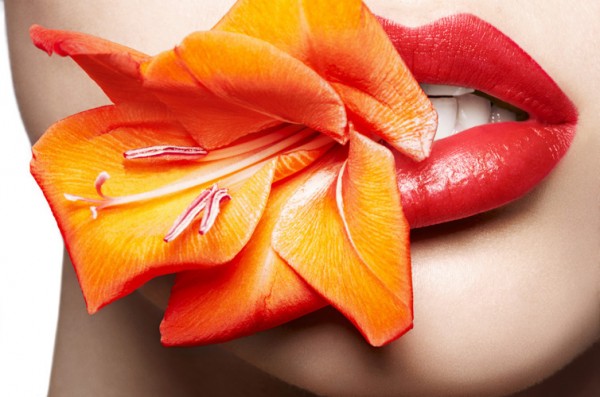
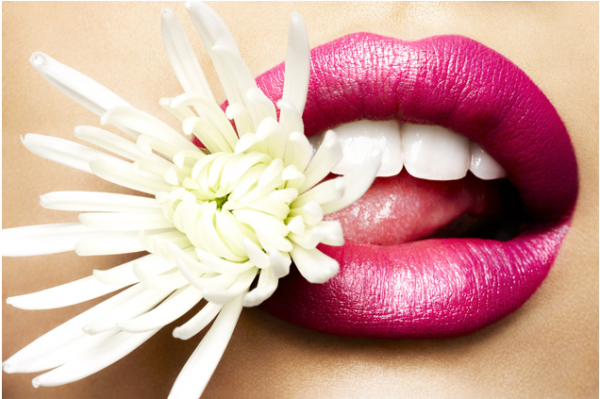
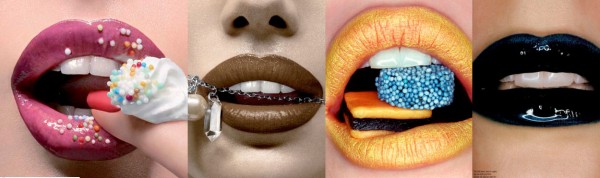
LIPS CALOR ART

How to make up lips

Every girl wants to have a sexy lip, and that is what I want to say: how to make up a charming lip.
The first thing you must to pay attention to is color of the lipstick that you choose.A good lipstick color must be suited your skin, especially you face color. You can choose not only one color, but also two or three colors to blend for a perfect color. However, the hue of the colors should be as closer as possible.

Some girls like to draw lip liner, but sometimes it will make your lips looks terrible. There is a tips on how to make up a natural lip line. Apply the line lips after the lipstick stage. Aviod to use the very dark color liner lipstick.


Perfecting your Lip Makeup

Semi permanent Lip Makeup is becoming more and more popular. Semi permanent lip makeup is also known as lip stain. One of the largest makers of Semi Permanent Lip Stain is a company called SeneGence. This Lip Stain gives colour to your lips but also acts as a moisturizer.


The built in moisturizer doesn’t permit your lips to dry out but instead locks in their nature moisture. Bottom line – your lips look great in every situation. The Lip-Sense brand by SeneGence is available in more than 30 colours. This allows any woman to pick a colour which is perfect for her skin type and tone. Not only that using semi permanent Lip Stain can save you money when you compare it to purchasing cosmetic lip stick or stain which needs to be reapplied over and over in the same day.


So, you’re probably wondering how it all works. Well, from the technical perspective,  the Lip Sense process embeds a colour pigment underneath the dermal layer of your lips. This is typically done for one of two reasons – it’s either done to change the colour of your lips completely or it’s done to enhance the shape of your lips making the lip-line more pronounced and thus appearing  more attractive.


This method of lip enhancement really is quite convenient and economical which is the main reason it’s growing in popularity. It gives women who may have struggled with mis-shapened lips the opportunity to improve their look or women who simply desire a change of colour to make them appealing.


Semi permanent lip makeup lasts as long as you want – it’s removed easily with a thorough wash but doesn’t come off at inappropriate times like when you are eating, drinking or even kissing.


It’s also waterproof and spread-proof – meaning it won’t move around. It doesn’t leave marks or come off on something it comes in contact with.


No doubt this is one of the biggest advantage. So simply drinking water  won’t wash away or mess up your lip colour. Also it doesn’t spread around on your lips like most lipstick will.


That means you don’t have to stop and check your lips all the time . Those women who are frustrated of buying the same lip stick again and again can have the most advantage over that lip stick by applying this product.  Another benefit is that you can still change the colour of your lips at any time – your not stuck with it like with permanent lip colouring.

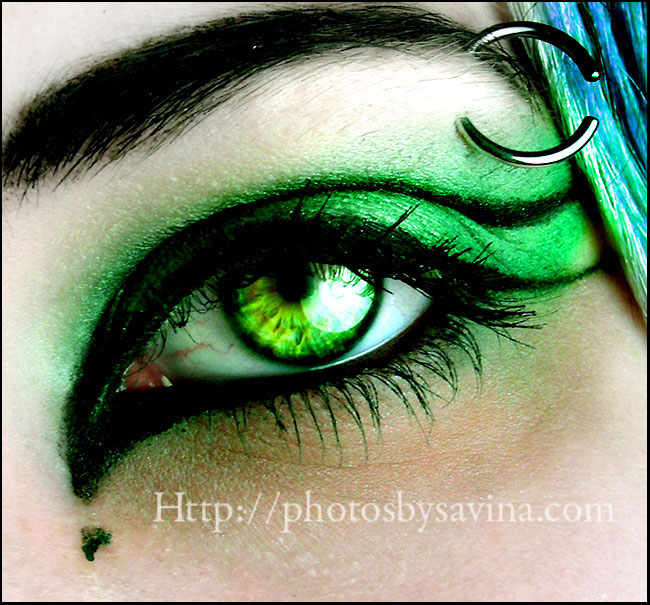
Eye Makeup Tips and Tricks


You can use eye makeup up tips and tricks quickly and easily when you know what to do.
Make up application for your eyes is not nearly as hard as it might seem.


Once you learn a few simple methods, mistakes can be avoided and eye make up can be applied quickly and easily. After all, the eyes have it all!


Everyone looks at our eyes and we look back with our eyes. Paying a little more attention to them will give you a little more attention! Think about how you use your eyes when you scan a room full of people. Other people are doing the same thing, so you need to give them something memorable to look at, right?


Nobody has the exactly the same eyes. We all have different eye colors, shapes, and dimensions. There are however, some general tips that everyone can use and benefit from using!


Quick Tips for Eye Makeup

Step One
Apply a thin layer of foundation or primer on the eyelids to correct imperfections and create the perfect color canvas. Remember, you are painting a picture and you are the artist. Primer simply sets the mood for makeup application.


Set lids with a light translucent powder if you are using powder eye shadow. If you’re using a cream shadow or pencil shadows as they apply more easily over primer/foundation only.


Step Two
Choose your color palette. To make the eyes look lush, use eye colors that blend well with your hair color. If you have auburn or red hair, use copper, peach, or reddish brown tones. You an also use pinks or lavender colors to enhance the red tones in your hair. If you have brown hair, use dark brown, chocolate, or gold colors. Those with blonde hair should wear ice blue, taupe, white, or cream colors. If you’ve got gorgeous gray hair, use a gray color or baby blue or light purple color.


Step Three
Apply one shadow color to the entire lid. Neutral tones work best.
Step Four
Apply a darker color in the crease of the eye. To make eyes pop, extend the line slightly beyond the crease of the outer eye. This makes your eyes look larger. If you want deep set eyes, extend the line slightly beyond the crease again, but move the line up to the brow bone. If this isn’t enough yet, add a dark colored pencil or shadow line to the top of the eyelid along the lashes. Carry the line out to the corner of the eye, or slightly beyond.
To increase the intensity even more, use an angled shadow brush and brush a darker shadow color under the eyes using short downward strokes below the lower lashes. Don’t draw a line though, as that detracts from the look.


Step Five
Apply a highlighting color to the brow bone. Use light colors, such as white or cream.
Step Six
For added definition, dust your entire eyelid with a light to medium neutral tone. Using a larger shadow brush, apply loose translucent powder to the entire eyelid to help set and blend.
When your eye color is complete you shouldn't be able to see where any of the colors begin or ends. Add mascara and brow pencil, as needed!